> ## Documentation Index
> Fetch the complete documentation index at: https://docs.explo.co/llms.txt
> Use this file to discover all available pages before exploring further.
# JS Event Button
> The JavaScript Event Button enables users to trigger custom JavaScript events.
 ## What it does
The Javascript Event Button emits a custom JavaScript event, facilitating the execution of additional scripts in response.
## Configuration
## What it does
The Javascript Event Button emits a custom JavaScript event, facilitating the execution of additional scripts in response.
## Configuration
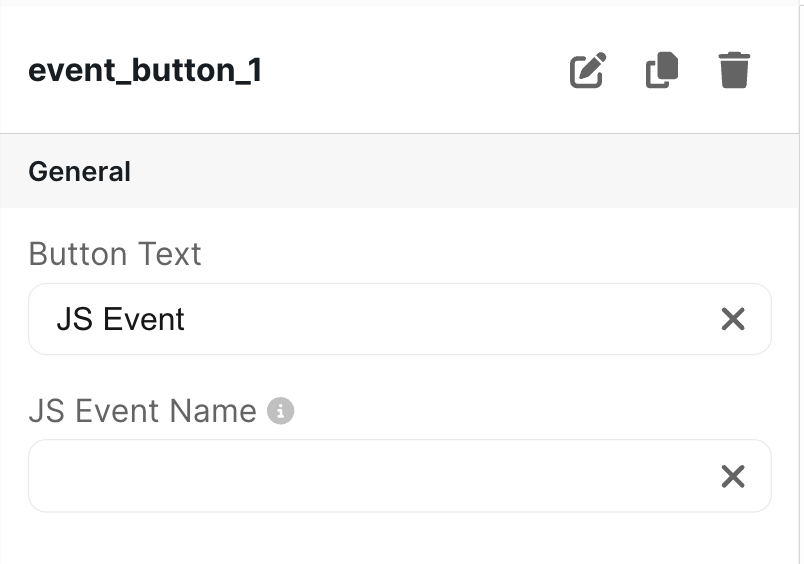 ### Basic Configuration
| Configuration Option | Description |
| -------------------- | ----------------------------------------------------------------------------------------------------------- |
| Button Text | This is the text displayed on the button on the dashboard. It defaults to "JS Event" |
| JS Event Name | Specifies the custom JavaScript event name to emit. Note: Leaving this field blank will disable the button. |
The detail body that is passed with the javascript event contains the `customerName` and the `customerProvidedId` for the customer who clicked the button.
### Example Code
```
```
### Basic Configuration
| Configuration Option | Description |
| -------------------- | ----------------------------------------------------------------------------------------------------------- |
| Button Text | This is the text displayed on the button on the dashboard. It defaults to "JS Event" |
| JS Event Name | Specifies the custom JavaScript event name to emit. Note: Leaving this field blank will disable the button. |
The detail body that is passed with the javascript event contains the `customerName` and the `customerProvidedId` for the customer who clicked the button.
### Example Code
```
```